✔️ Custom-created and ready-to-use
Choose among a growing number of official Squiz and community-created recipes that allow you to connect your existing systems, handle data and trigger tasks.
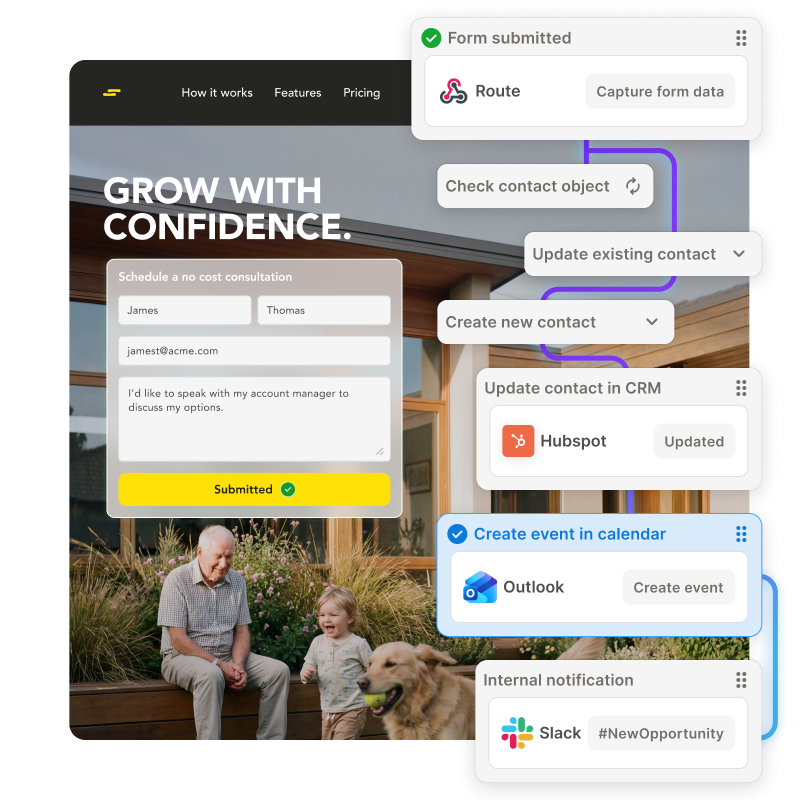
Speed up your development work with pre-made automation flows.
Pre-made recipes provide a quick and easy way to get started, by allowing you to implement common integration use cases with just a few clicks.
Simply select the systems you want to connect and the data you want to share, and Squiz Digital Experience Platform (DXP)’s Integrations capability will handle the rest.
Choose among a growing number of official Squiz and community-created recipes that allow you to connect your existing systems, handle data and trigger tasks.
When you use Squiz's pre-built recipes to manage your integrations, it really is as easy as one, two, three.
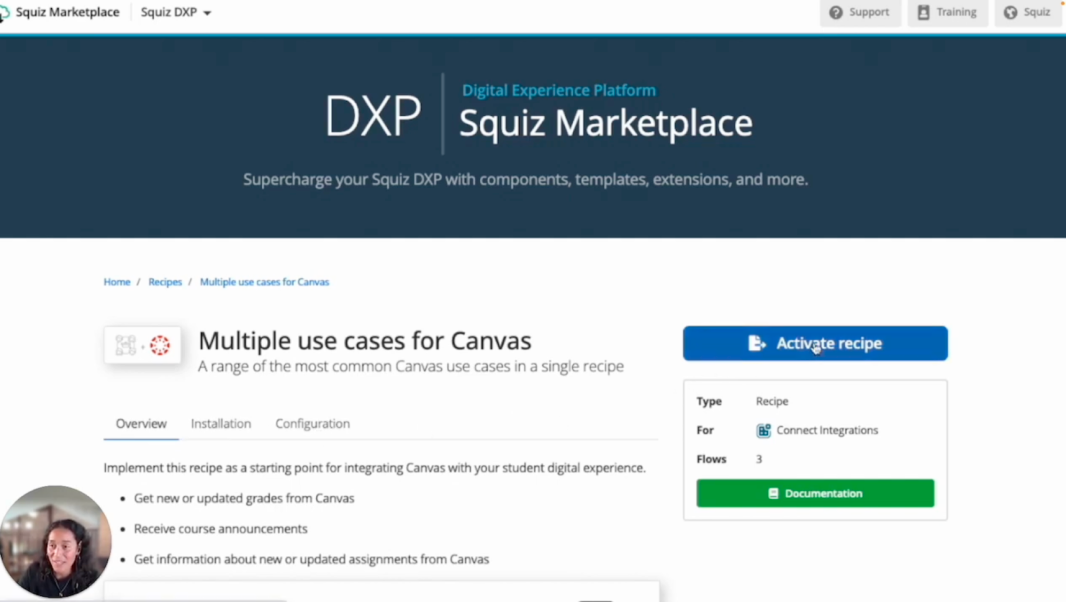
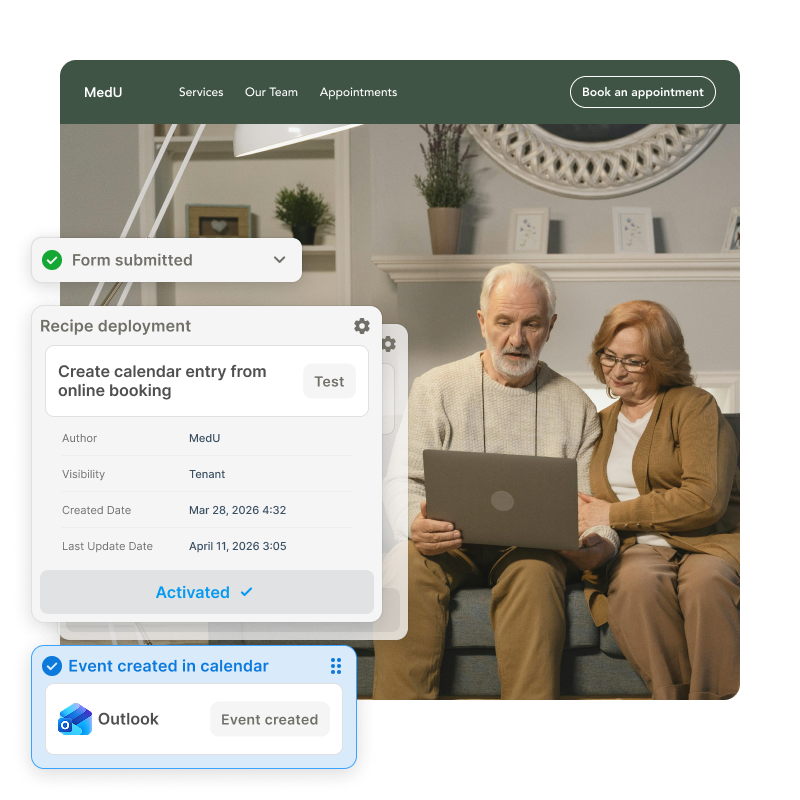
Video: See how it works. Captions and transcript available on playback.
Take a closer look at how recipes work in this short demo.
Hi, I’m Davila. Today I’m going to talk to you about Squiz’s recipes. With the Squiz Integration Platform Connect, you can speed up your development work using pre-made automation flows that we call “recipes”.
These pre-built recipes provide a quick and easy way to get started by allowing you to implement common integration use cases with just a few clicks.
Let’s take a look at a Canvas recipe. It breaks down what the recipe is for and also provides supporting documentation. From here, you can activate the recipe, which takes you directly into your Connect instance.
At this stage, you can choose which instance you’d like to deploy the recipe to, especially if you already have multiple deployments. You can review additional details and then activate it.
You can also explore other recipes available within your specific instance directly from the Connect dashboard. As you can see here, there are many different recipes available—more than are currently shown on the public marketplace.
Now let’s go into our Canvas recipe. I’m going to activate it. First, I’ll quickly plug in the credentials I already have set up, and that’s it.
We now have three new flows deployed into my instance, ready for me to start integrating Canvas with my website or student portal.
Let’s take a look at the Canvas flow to understand the steps involved. The flow retrieves courses, checks for any published announcements, and then creates a notification for students about those announcements.
Now let’s look at the student portal. We can see our student here, with courses being listed from Canvas thanks to the integration. One of those courses is BIO 101, which I’m going to update in Canvas.
But first, let’s go to the Canvas announcements section. I’m going to create a new announcement for BIO 101. I’ll add some content—our next lecture has been cancelled, and here’s why, along with what students need to know next.
I’ll publish the announcement.
Now, if I go back to Connect, the workflow will run and update the data by pulling in the latest courses and announcements. Once complete, students will receive a notification in the student portal.
We can now see that notification appear, informing students about the latest update for their course.
As you can see, these pre-made recipes provide a quick and easy way to get started, allowing you to begin integrating your digital platforms immediately.
If you have any questions or want to see more integrations we provide at Squiz, please book a demo.